How to learn Wing Foiling fast in 2 steps
Wing Foiling is a revolution. It is fun, innovative and very practical or versatile: it requires little equipment (especially compared to windsurfing!), little space on the water compared to kitesurfing and it is also much less dangerous. In short, it has many advantages. And, on top of that, it is very easy to learn if you do it properly.. And that is what this article is about. Learn how to speed up the learning process in 2 stages.
Table of contents:
- Choose the right gear
- Step 1: Wingsurfing without the foil
- Step 2: Learn how to foil progressively
- Do I need lessons?
- How long does it take to learn?
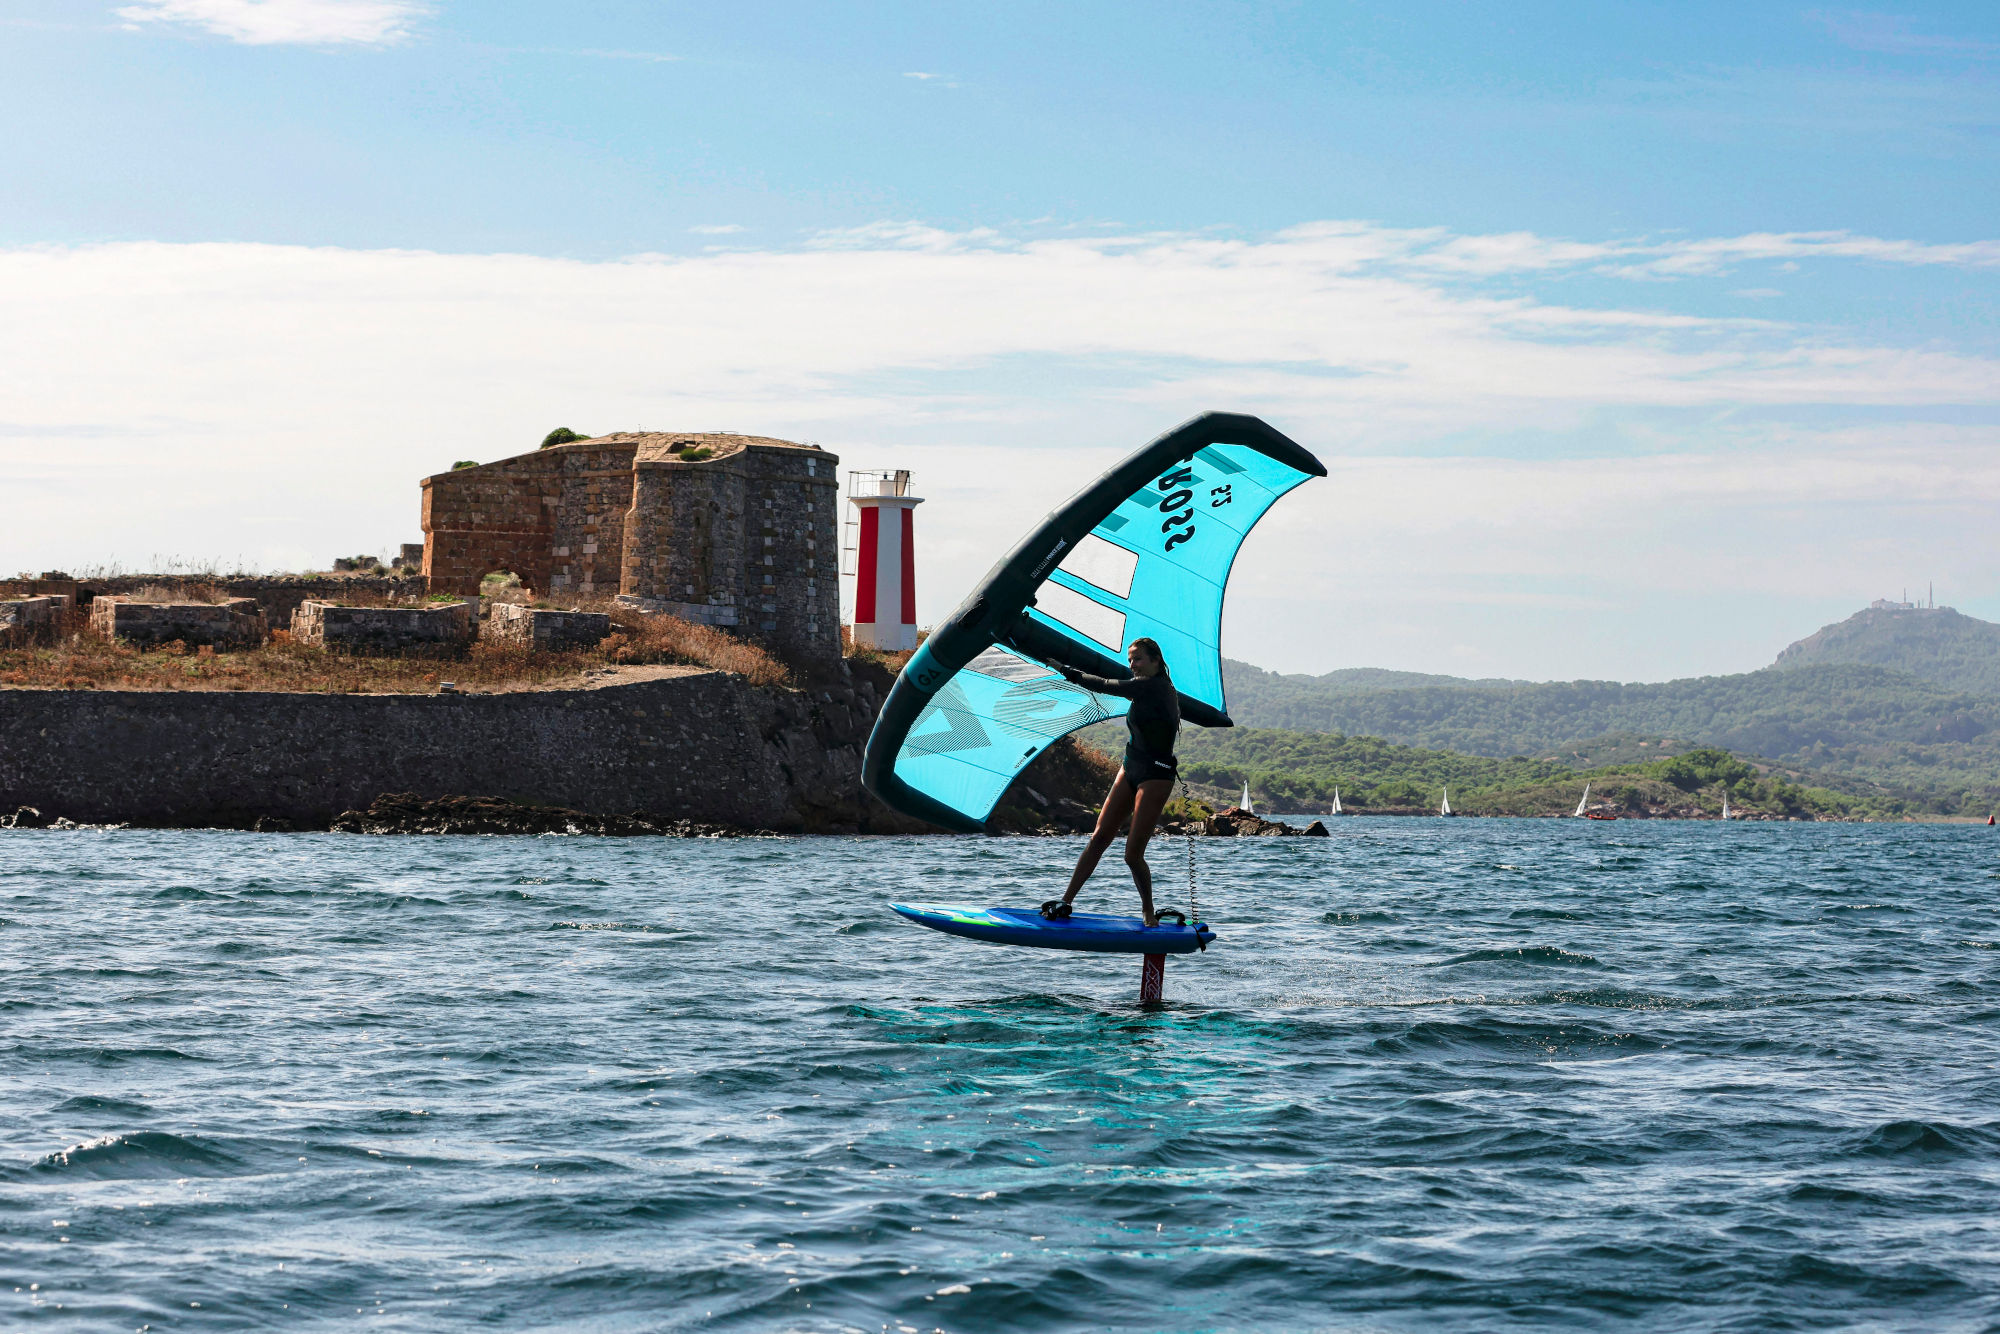
Wing foiling in Fornells Bay, Menorca
Choosing the right equipment is crucial
We are going to explain how to learn Wing Foiling very quickly, but the first thing is to choose the right equipment for it. Nothing hinders the learning process more than inappropriate gear.
Ideally, you should learn at a center to take advantage of the best equipment for your very first steps and you should only buy your own gear after having a decent level. If that’s not possible, buy easy stuff. You can resell it later when you make progress and need better equipment.
Board size
To learn to control the wing, large boards with daggerboard are ideal, such as beginner windsurfing boards or sup boards with daggerboards or center fin.
To start foiling, your board needs to be big enough for you to stand on it easily. We use boards between 120l and 160l to start with. For people between 70-80kg, around 130-140l would be great. If you are very light, around 120l is good and if you are very big, don’t hesitate: 150-160 liters will be great to start with.
When we are able to fly on the foil comfortably, we can start using smaller boards. In fact, you can go down pretty quickly, but if we start with boards that are too small the learning process will be much longer. Therefore, renting equipment for your very first steps is a good idea. If that’s not possible, buy big boards and resell them when you are ready to use smaller gear.
Foil size
Same thing we said about boards. Big and stable foils at the beginning, please. We use Gaastra 2000cm2 foils for 95% of our clients. They’re great to start with: stable and they get up at low speeds.
If you are very light, you can maybe start with a 1700cm2 foil. If you are heavier, then start with a 2500cm2 foil. But on average 2000cm2 is a good reference.
Another important thing is the lenght of the mast. For the first time foiling, 40-50cm masts are ideal. They make the learning process much more easy and safe. Once we feel comfortable on the 40-50cm masts, we can try the 65cm ones and finally the standard 85cm. Always remembering to do it progressively and as we meet our goals.
It is true that when you have a decent level, you can go down quickly (and a lot), but until we are able to fly comfortably and do our first transitions, use a big foil and a short mast!
Wing size
At the beginning, it is better to have plenty of power to make getting up on foil much easier. For light conditions, around 10-15knts, which is what we mostly have here in Menorca in summer, a 6m2 wing is a good size. If you are lighter, a 5m2 one will work for you and if you are very big, then a 7m wing is better!
Obviously if you sail in windier conditions, you will need smaller wings. And also when you learn how to pump properly, you will be able to take off earlier and therefore you will be able to use smaller wings. But don’t rush. You should go big at the beginning.
And now that we have the right equipment, let’s talk about technique:
Step 1: Wingsurfing
Before thinking about flying on a foil, it is very important to learn how to sail very well without drifting downwind. We have to be able to sail on a non foiling board (or taxing on a foiling board) before thinking about taking off. We need to walk before learning to run. This step can be shorter or longer depending on your experience in other sports. If you are a good windsurfer, for example, maybe 1 hour is enough to move on to the next step. However, if you are new to this type of sports, don’t be in a hurry! Take your time and enjoy the process! A strong base will make the learning experience so much easier and faster.
Exercices:
- Wing/sail handling on land: learn how to keep the sail stable on land. Learn how to get and lose power, how to place the sail higher or lower for speed or control and learn how to prevent it from touching the water.
- Sail on a non-foiling board: learn how to stay upwind, how to steer and control where you go and learn the basic turns.
Once we feel confident with these two exercises, we can move on to the next level!
And here we show exactly all you need to know about this first step:
Step 2: Learn to foil step by step
It is the moment of the truth. You’ve mastered the sail and you’re sailing without drifting downwind. Now it’s time to grab your board, foil and sail and start enjoying!
First familiarise yourself with the equipment
Now it’s time to take the board and foil, so first you have to get used to the new equipment:
- Learn to get on the water with the equipment
- Learn to stand up on the board
- Learn to sail back and forth without drifting away from the wind
Once you’ve got that under control, we’ll concentrate on getting you flying. In this video we explain in detail how to learn the basics.
Practice e-foiling
A good idea to get foiling control is to efoil on light wind days. You can concentrate 100% on your balance without worrying about the wing. This is very good practice on no-wind days!
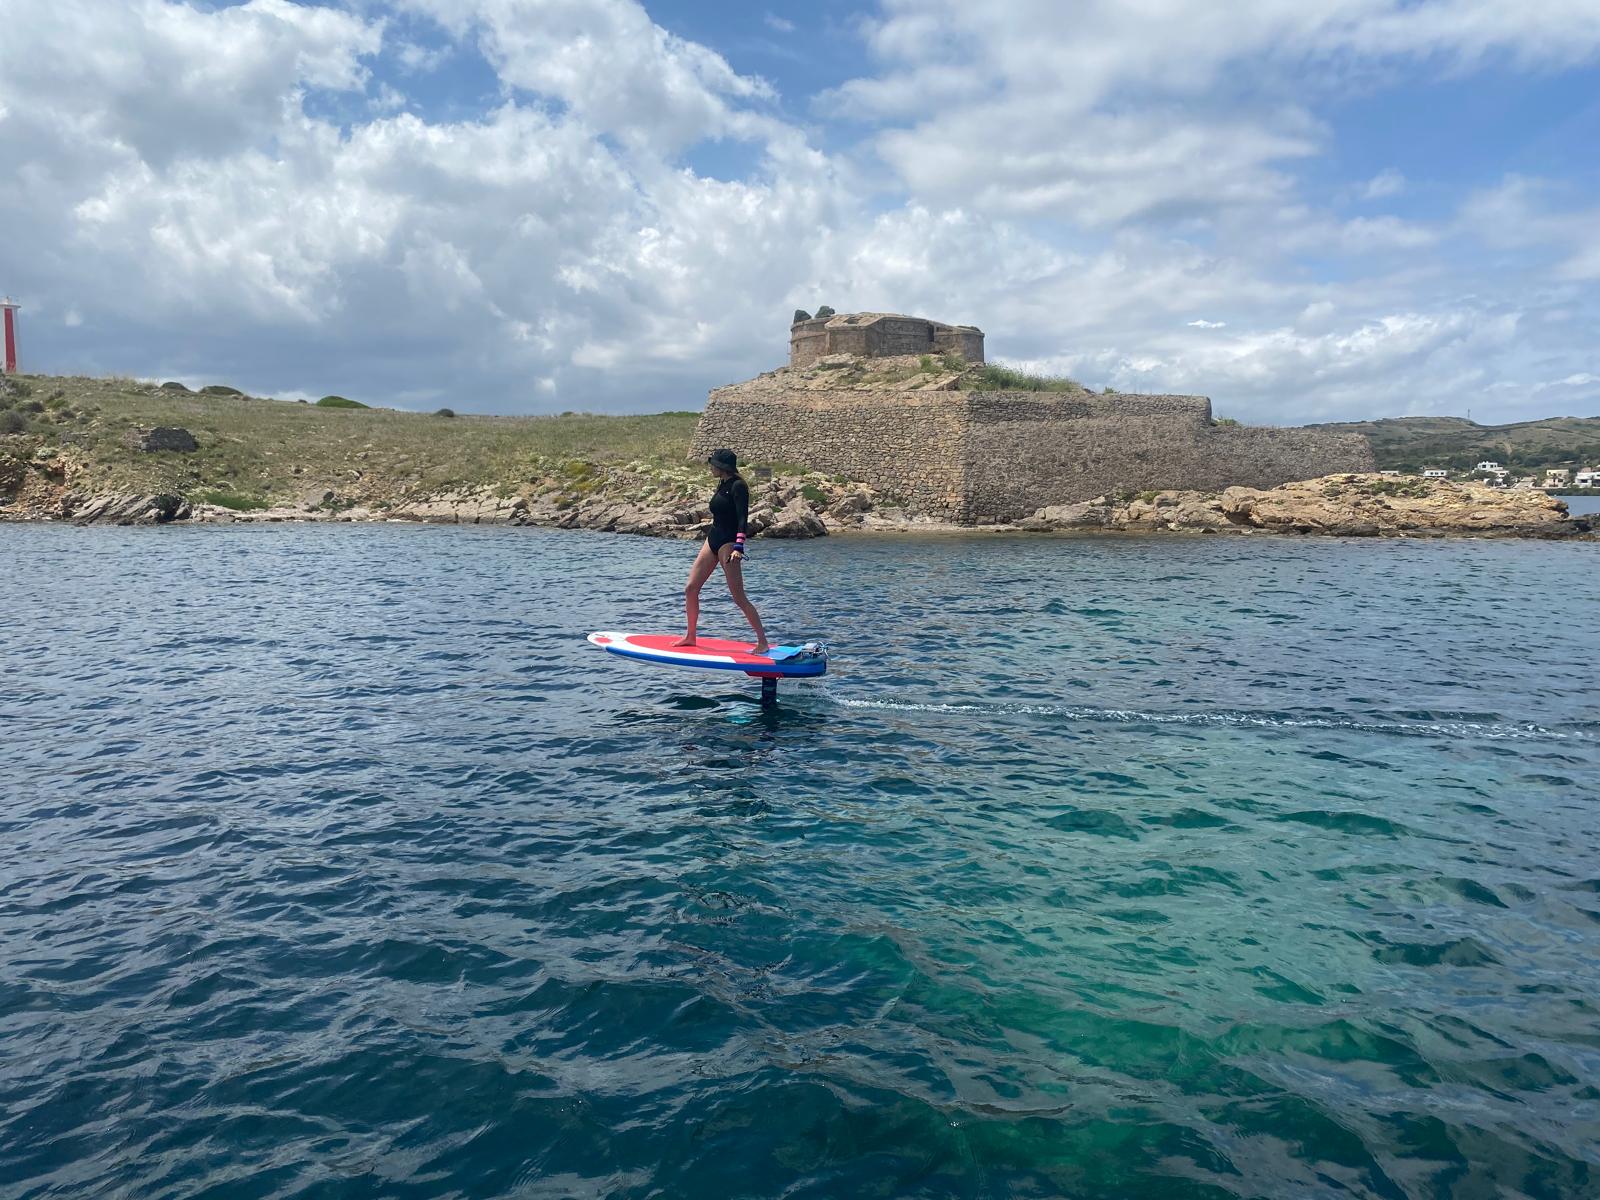
E-foiling in Fornells
Learn how to use the wing + the foil
The key here will be to learn how to start efficiently. It will be easier if there is enough wind (15+knt) and you will have to learn to pump if the wind is ligther (10-15knt).
Another key is the equipment you use. Short masts, big foils and big foils will make this step much easier.
Use better gear as you make progress
When you are able to fly comfortably, you can start using better equipment. You can start using longer masts, smaller boards and even smaller foils. But don’t hurry! Make sure you are very comfortable on your current equipment before moving towards more advanced gear.
Do I need an instructor to learn Wing Foiling?
Wing foiling is a fairly easy sport, compared to windsurfing or kitesurfing, for example. However, especially if you do not have previous experience in this type of sports, we recommend doing some lessons during the first two steps of the process:
- Wing handling
- To introduce you to foiling
From there, we believe that the format of visualizing what you want to learn and then practicing it on the water is the best way to progress. And if you get stuck at any step, you can always book a lesson again. But we believe that taking an active role in the learning process is very important. That’s why we have created this comprehensive guide. To help you understand what you need to learn and how and when to learn it.
How long does it take to learn?
We like to say that it usually takes between 5 and 30 hours to learn to fly comfortably. If you have a lot of previous experience in foiling, windsurfing or kitesurfing, it will surely be closer to 5 hours. If, on the other hand, you do not have previous experience in this type of sports, you will be closer to 30 hours.
However, 30 hours is nothing in this type of sports. If we compare it to windsurfing or kitesurfing, it is much easier and faster to have a decent level and strong sensations in Wing Foiling. And it is not even close! It is another of the great advantages of this sport and another of the reasons why it is having such success.
Of course, to speed up the process we recommend that you follow the advice in this guide and that if you do not have previous experience you invest in lessons both to learn how to use the wing and to learn how to foil behind a motor boat.
And now what’s next?
Obviously there is much more to learn. The learning process is endless. The next step would be to start with the transitions. Gybing is easier first and after that you can also start tacking. Stay tuned as we will be expanding this guide and adding more tutorials on our youtube channel to cover these steps as well. See you soon!